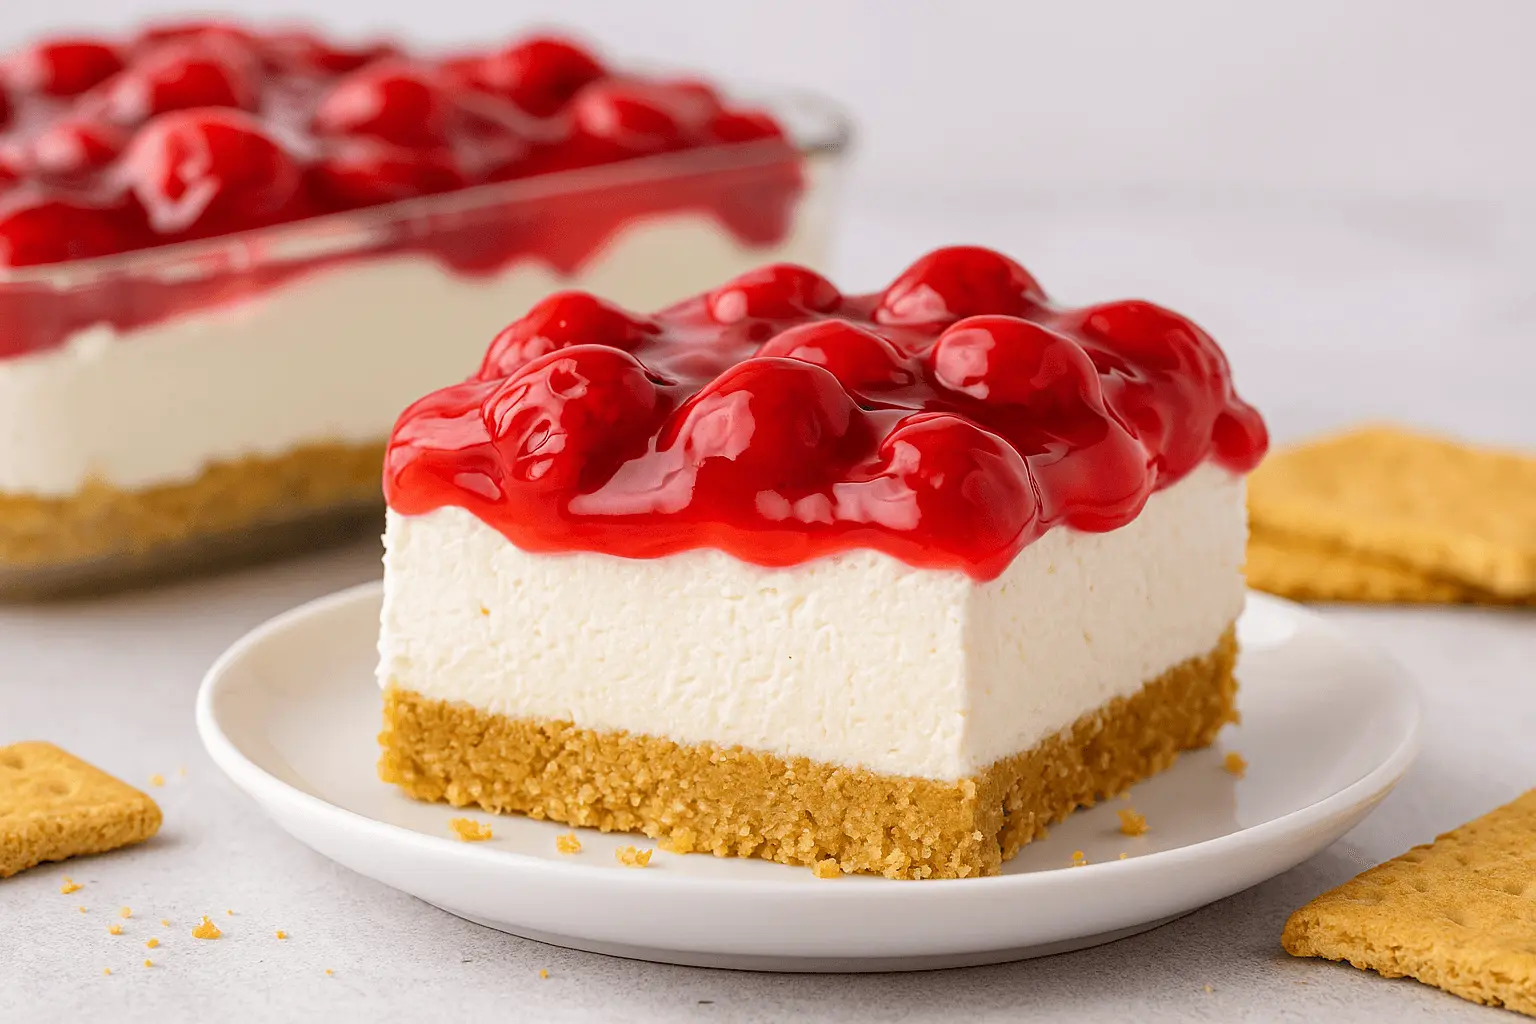
Let’s be honest—sometimes you just want a dessert that’s easy to make, doesn’t require turning on the oven, and still gets everyone around the table smiling. That’s exactly what this cherry delight recipe is all about. It’s the kind of treat I’ve brought to potlucks, birthday parties, and yes, even just regular Tuesday nights when the family wants “something sweet” after dinner.
No complicated steps, no fancy tools—just simple layers of buttery crust, creamy filling, and that glossy cherry topping we all know and love. In this post, I’ll walk you through everything: what ingredients you’ll need, how to put it together, ways to change it up, and how to store it if there’s any left (though let’s be real… there probably won’t be). Let’s get into it!
Why You’ll Love This Cherry Delight Recipe
There’s something special about a recipe that feels like it’s always been part of the family—and this cherry delight recipe is exactly that kind of dessert. It’s the one you reach for when you want something quick and crowd-pleasing. Whether you’re planning a get-together or just spoiling your crew after dinner, this dish delivers every single time.
Here’s why you’ll want to keep this cherry delight dessert in your recipe box:
Quick and easy to make – You don’t need to be a seasoned baker to pull this one off. A few simple layers and a little chill time are all it takes.
No oven required – Perfect for those warm-weather months or when you just don’t feel like heating up the kitchen.
Great for any occasion – From birthday parties to baby showers or weeknight dinners, this dessert fits right in.
Customizable – Swap the cherry topping for blueberry, strawberry, or even peach pie filling depending on what you have or love.
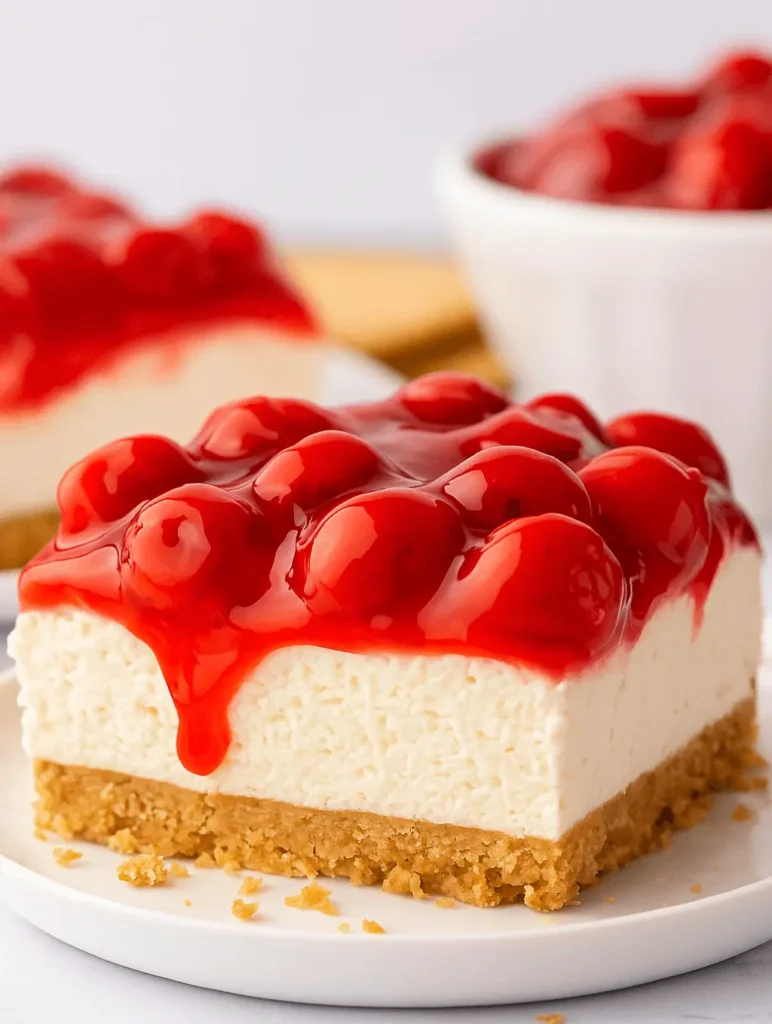
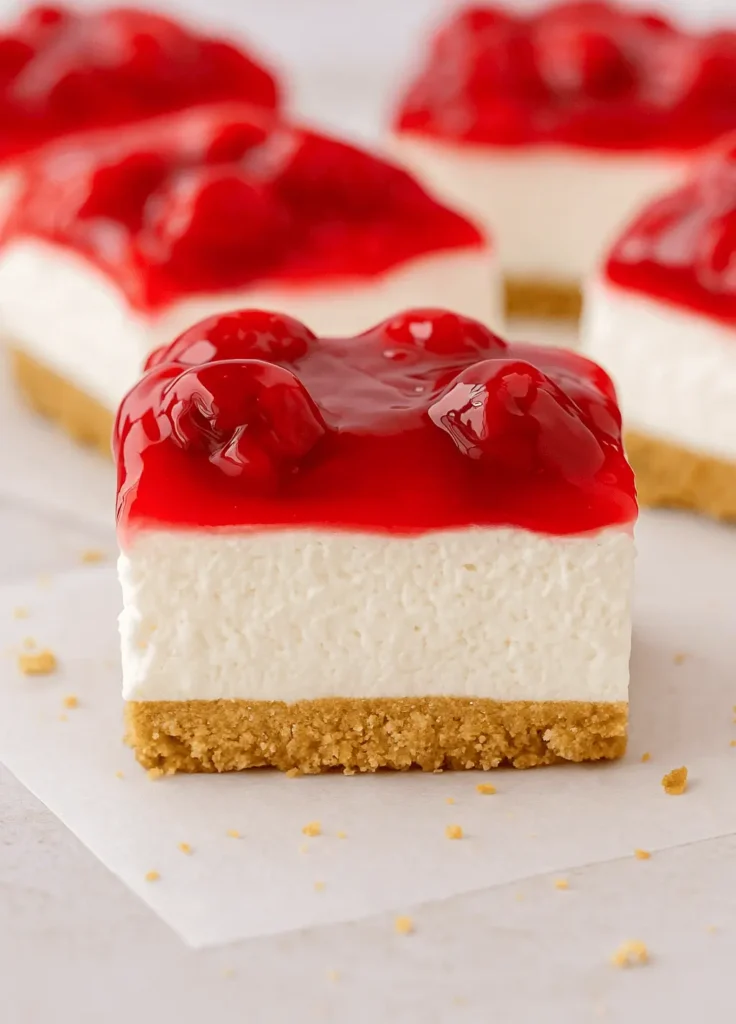
Pretty presentation – That pop of bright red cherries over a creamy layer and crumbly crust looks lovely on any table.
Make-ahead friendly – Assemble it a day in advance and let it chill until you’re ready to slice and serve.
There’s just something joyful about pulling this classic cherry delight recipe no bake dessert out of the fridge, cutting into those creamy layers, and sharing it with the people you love. It’s the kind of sweet that brings smiles all around.
Ready to gather your ingredients? Let’s walk through what you’ll need to bring this delicious dish to life.
Cherry Delight Ingredients You’ll Need
Before we dive into layering, let’s talk about what you’ll need to make this cherry delight recipe come together. The beauty of this dessert is that it uses simple pantry and fridge staples. Everything works together to create a balance of texture and flavor—from buttery and crisp to soft and fruity.
Basic Ingredients:
- Graham cracker crumbs – 2 cups
These give us that golden, crumbly base. They set up nicely in the fridge and add a light crunch to every bite. - Melted unsalted butter – ½ cup
Acts as the glue for the crust. It helps hold everything together while adding rich flavor. - Cream cheese – 8 oz, softened
This gives the filling its creamy, slightly tangy base. Make sure it’s soft so it blends up smooth without lumps. - Powdered sugar – 1 cup
Dissolves into the cream cheese easily and sweetens the filling without making it gritty. - Vanilla extract – 1 teaspoon
Adds a warm, comforting note that brings the whole dessert together. - Frozen whipped topping – 8 oz, thawed
This lightens up the filling and gives it that fluffy texture that’s so classic in a cherry delight dessert. - Cherry pie filling – 21 oz can
The star of the show—bright, glossy, and sweet. It’s the finishing touch that gives this classic cherry delight its signature look.
Optional Add-Ins:
- Lemon zest – ½ teaspoon
Adds a bright citrus twist to the filling. Just enough to freshen it up without taking over. - Mini chocolate chips – ¼ cup
A fun surprise folded into the filling or sprinkled over the crust before layering.
Pro Tip: Feeling creative? For a twist on the original, try using crushed vanilla wafers or chocolate cookies instead of graham crackers. You can also switch the fruit topping to blueberry, strawberry, or even pineapple for a new take on this cherry delight recipe no bake version.
Once you’ve got your ingredients ready, let’s move on to the fun part—putting it all together!
How to Make Cherry Delight Step by Step
Now that everything’s prepped, here’s how to build this cool and creamy cherry delight recipe from the bottom up. Don’t worry—there’s no oven, no fancy techniques, and every step is simple enough to do while chatting in the kitchen.
1. Make the crust
In a medium bowl, stir the graham cracker crumbs and melted butter until everything is evenly coated and the texture feels like damp sand. Pour the mixture into a 9×9-inch dish and press it down firmly using the back of a spoon or the bottom of a measuring cup. Pack it tightly—especially into the corners—so it holds together when sliced. Pop the dish in the fridge while you work on the filling.
2. Mix the creamy base
In a large bowl, beat the softened cream cheese and powdered sugar with a hand mixer on medium speed for about 2 to 3 minutes. You’re looking for a texture that’s smooth and fluffy, with no lumps or graininess. Add in the vanilla extract and lemon zest if using, then mix for a few seconds more just until combined.
3. Fold in the topping
Switch to a rubber spatula and gently fold the thawed whipped topping into the cream cheese mixture. Don’t stir too hard—you want to keep that light, airy feel. Once the mixture is pale, smooth, and evenly blended with no streaks, you’re good to go.
4. Layer the filling
Take your chilled crust out of the fridge and scoop the creamy filling right on top. Spread it out evenly with an offset spatula or the back of a spoon, making sure to smooth it all the way to the edges. It should feel soft but stable enough to hold its shape.
5. Chill
Seal the dish with plastic wrap or a fitted lid, then place it in the fridge to chill for a minimum of 2 hours. If you’ve got the time, leaving it overnight gives the layers a chance to firm up fully and makes for cleaner slices.
6. Add the cherry topping
Once chilled, gently spoon the cherry pie filling over the cream layer. Start in the center and use the back of the spoon to nudge it toward the edges. The vibrant red against the creamy base looks beautiful, so take your time with this part.
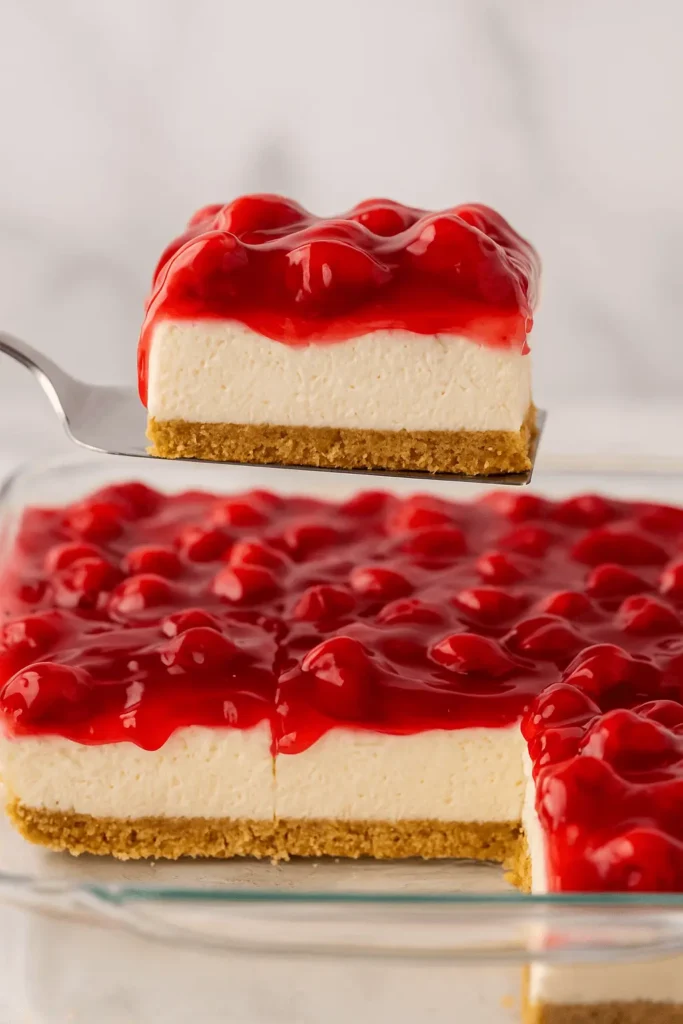
7. Slice and serve
For neat slices, dip a sharp knife into hot water, dry it off, and repeat between cuts to keep those edges smooth. A wide spatula makes it easy to lift each piece out cleanly. Serve chilled and enjoy every fruity, creamy, buttery bite.
There’s something so satisfying about layering up a dessert like this—it’s simple, a little nostalgic, and always brings smiles. Up next, let’s talk about easy ways to make this recipe your own!
Cherry Delight Recipe Tips and Easy Variations
Once you’ve got the basics down, it’s fun to add your own personal touch. This cherry delight recipe is a great canvas for a little creativity, and these tips can help you avoid common hiccups while giving you ideas to mix things up.
- Chill long enough for clean slices
Give your dessert plenty of time in the fridge—at least 2 hours, but overnight is even better. It helps the layers set so they slice neatly and hold their shape. - Use room-temperature cream cheese
Cold cream cheese is harder to blend and can lead to lumps in the filling. Let it sit out until it’s soft before mixing. - Don’t rush the crust
Press the graham mixture down firmly—use the bottom of a flat glass if you want to make sure it’s packed tightly. This keeps your crust from crumbling when you slice it later. - Try different toppings
While cherry is a classic, feel free to change it up! Blueberry pie filling, peach, or even a mixed berry blend all work beautifully. This makes the recipe feel brand new without changing the process. - Add a crunchy surprise
For a little texture, sprinkle chopped pecans, almonds, or crushed cookies between the cream layer and the topping. - Individual portions = party win
Instead of one big dish, divide the layers into small jars or dessert cups. These mini versions are great for parties or picnics—and they look super cute on a tray!
This dessert is easy to customize, so have fun making it your own. Now, let’s talk about how to serve it so it really shines.
Serving Ideas for Cherry Delight That Everyone Will Love
Serving this cherry delight dessert is just as fun as making it. Whether you’re keeping it casual or dressing it up for guests, here are a few ways to present it with style and love.
- Serve chilled straight from the fridge
The cool, creamy texture is what makes this dish so satisfying. Keep it cold right up until you’re ready to slice. - Add a dollop of extra whipped topping
A spoonful on each square adds a soft, fluffy finish. You can even add a sprinkle of crushed graham crackers or mini chocolate chips for flair. - Perfect for potlucks and picnics
Cut into small squares and arrange on a parchment-lined tray so they’re easy to lift and pass around. - Dress it up for the holidays
Serve on a cake stand or decorative platter with a few fresh mint leaves for a festive pop of color. - Layer in glass cups for a parfait-style dessert
This makes for a lovely plated presentation and is ideal if you want to prep ahead in individual portions.
Whether you’re serving it at a birthday, barbecue, or Sunday dinner, this cherry delight recipe no bake treat always feels just right. And if you have any leftovers—lucky you! Let’s go over how to store them.
How to Store Cherry Delight and Keep It Fresh
If you happen to have a few pieces left (which is rare in my house!), you’ll want to keep your cherry delight as fresh as possible. Here’s how to do it:
- In the fridge:
Cover the pan tightly with plastic wrap or a lid and store in the refrigerator for up to 4 days. The crust may soften slightly, but the flavors will still be delicious. - Make-ahead tip:
If prepping ahead, wait to add the cherry topping until the day you plan to serve it. This helps keep the top layer looking bright and fresh. - Freezing (optional):
While not ideal for presentation, individual slices can be frozen. Place on a sheet pan to firm up, then wrap in plastic and store in a freezer-safe container for up to 1 month. Thaw in the fridge overnight before serving. - Avoid storing at room temperature:
Since it contains cream cheese, this dessert is best kept chilled. Only leave it out for short periods during serving time.
With just a little care, your leftovers can be just as delightful the next day—or even later in the week.
More Dessert Recipes You’ll Want to Try Tonight
Easy Cherry Delight Recipe for Sweet Moments
Ingredients
- 2 cups graham cracker crumbs
- ½ cup unsalted butter melted
- 8 oz cream cheese softened
- 1 cup powdered sugar
- 1 tsp vanilla extract
- 8 oz frozen whipped topping thawed
- 1 can 21 oz cherry pie filling
Optional Add-Ins:
- ½ tsp lemon zest for a citrusy pop
- ¼ cup mini chocolate chips for a fun twist
Instructions
- Combine graham crumbs and butter; press into dish to form crust. Chill.
- Beat cream cheese and powdered sugar until smooth. Add vanilla and zest if using.
- Fold in whipped topping gently until well mixed.
- Spread filling over crust evenly.
- Cover and refrigerate for at least 2 hours (or overnight).
- Top with cherry pie filling and spread gently to edges.
- Slice, serve chilled, and enjoy!
Notes
FAQs About This Easy Cherry Delight Recipe
You’ve got questions, and I’ve got answers! Here are some of the most common things folks wonder when making this cherry delight recipe—along with some handy tips to make your dessert turn out just right every time.
Can I use a different kind of crust instead of graham crackers?
Absolutely! Crushed vanilla wafers, chocolate sandwich cookies, or even shortbread cookies all work as a great base. Just make sure to use about the same amount (2 cups of crumbs) and combine with melted butter to help it hold together. It’s a fun way to change up the flavor without changing the process.
What size dish should I use for this cherry delight dessert?
A 9×9-inch square baking dish works best for nice, thick layers. You can use an 8×8-inch pan for slightly taller slices, or double the recipe for a 9×13-inch pan if you’re feeding a bigger crowd.
Can I make this cherry delight recipe ahead of time?
Yes! It actually gets better as it chills. Make it the night before and store it covered in the fridge. For the prettiest look, wait to spread the cherry pie filling until just before serving.
Is it okay to use homemade cherry topping?
You sure can. If you have fresh or frozen cherries on hand, you can cook them down with a little sugar and cornstarch until thick and glossy. Let it cool completely before layering it on top of the dessert.
How do I keep the crust from crumbling when I slice it?
Make sure you press the crust firmly into the dish, especially along the edges. Chilling it before adding the filling also helps it set up properly so you get clean, tidy slices.
Can I make this as individual servings instead of one big pan?
Definitely! Layer the dessert in small jars, clear cups, or ramekins for single-serve portions. It’s a great way to dress things up for parties or picnics—and easier to grab and go.
Whether you’re making this cherry delight recipe no bake for the first time or turning it into your new family favorite, I hope these tips help you feel confident and ready to go. Let’s bring it all home with a sweet little wrap-up.
A Sweet Ending to the Perfect Cherry Delight
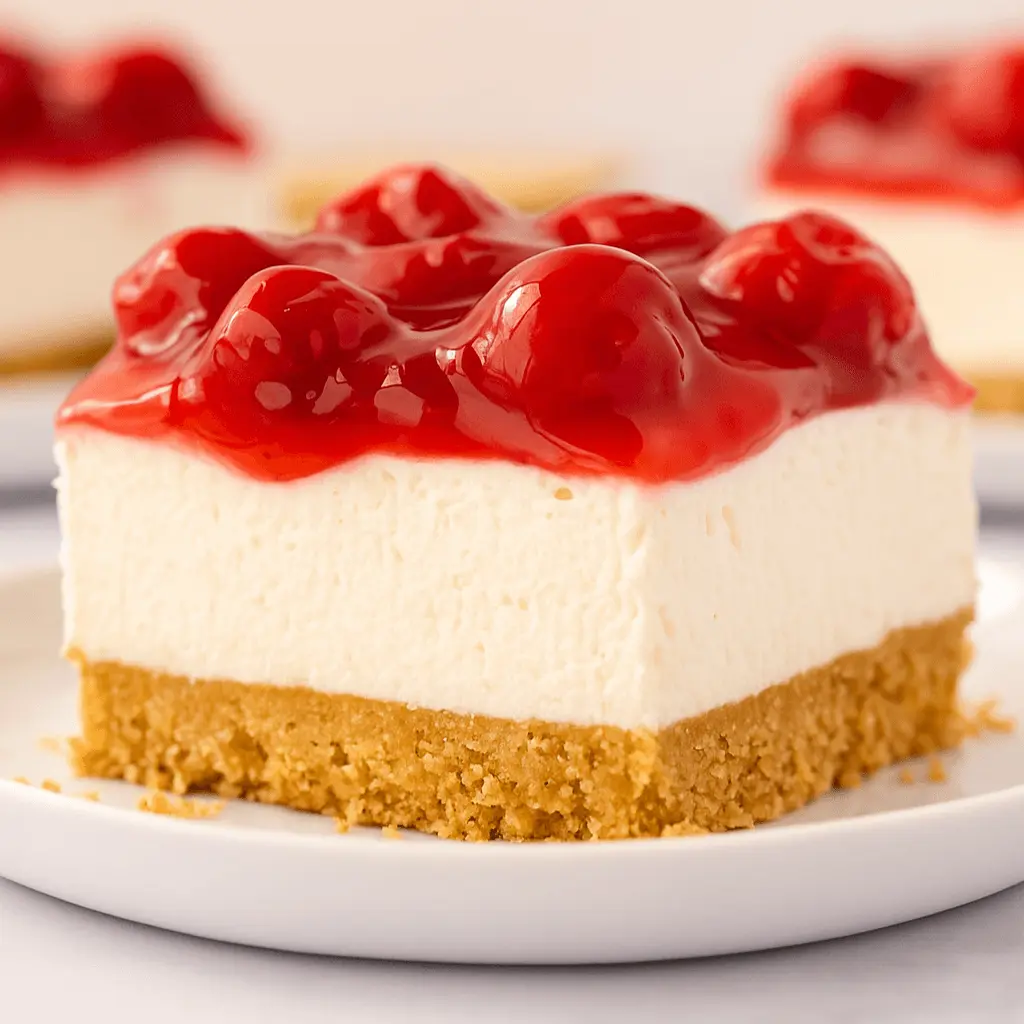
There’s just something heartwarming about a dessert that brings people together, and this cherry delight recipe has a way of doing exactly that. From the buttery crunch of the crust to the creamy filling and that bright cherry topping, it’s the kind of treat that feels familiar, comforting, and just plain joyful to serve.
Whether you’re making it for a celebration or just because it’s been a long week and your family deserves something sweet, this recipe is simple enough to throw together and special enough to be remembered. It’s one of those little desserts that has a way of turning everyday moments into something a bit more delightful.
If you give it a try and it brings a smile to someone at your table, I’d love to know it found a place in your kitchen.